How to replace Netflix and Google Photos with your own home server, part 3
In Part 1 of this guide we went over the basic installation process for your first Linux home server. In Part 2 we covered a brief introduction to the Linux terminal and some useful commands for navigating around. Here in Part 3 we’re going to focus on setting up containerised services using Docker and Portainer.
Containers are a very powerful way to run services. They encapsulate everything you need to run a service into its own little bubble that doesn’t affect the host OS or other containers you might be running. We’re going to use Docker as our container runtime, and Docker Compose to configure everything. We’re also going to install Portainer as a GUI for managing our Docker containers. Standard disclaimer: it’s unwise to copy and paste commands from untrusted sources (like me) into your terminal. I’m going to go through these commands one by one and explain exactly what they do, and wherever possible link to a trusted source.
If you’ve come here from Part 2 you might be anywhere in the filesystem, so let’s return to our home directory:
cd ~/
Per the Docker install instructions, we need to add the Docker repository to our package manager. Some of these commands will succeed silently and only output anything in case of error.
Make sure the prerequisites are installed. This will let us fetch and verify the GPG key that the repository signs with:
sudo apt-get install -y ca-certificates curl
Create a keyrings directory for apt and give it appropriate permissions:
sudo install -m 0755 -d /etc/apt/keyrings
Download Docker’s GPG key to it:
sudo curl -fsSL https://download.docker.com/linux/ubuntu/gpg -o /etc/apt/keyrings/docker.asc
Set permissions for the GPG key:
sudo chmod a+r /etc/apt/keyrings/docker.asc
Add the Docker repository to apt‘s list of repos:
echo \
"deb [arch=$(dpkg --print-architecture) signed-by=/etc/apt/keyrings/docker.asc] https://download.docker.com/linux/ubuntu \
$(. /etc/os-release && echo "$VERSION_CODENAME") stable" | \
sudo tee /etc/apt/sources.list.d/docker.list > /dev/null
Update the list of available packages with the new repo installed:
sudo apt-get update
Install Docker and its associated packages:
sudo apt-get install -y docker-ce docker-ce-cli containerd.io docker-buildx-plugin docker-compose-plugin
Verify that Docker installed ok:
docker -v
Verify that Docker Compose installed ok:
docker compose
Check that everything is working together properly by pulling and running Docker’s Hello World container:
sudo docker run hello-world

For convenience, we can add our user to the docker group so you can run docker commands without needing to use sudo:
sudo usermod -aG docker $USER
The new group assignment won’t take effect until the next time you log in, so let’s refresh our login by using the switch user command and passing it our username to switch to:
exec su -l $USER
Next we’re going to install Portainer to give us a nice web based GUI for our Docker containers. From the Portainer install instructions, we’re going to:
Create a Docker volume for Portainer
docker volume create portainer_data
Download and run Portainer as a Docker container on port 9443, setting it to start automatically
docker run -d -p 8000:8000 -p 9443:9443 --name portainer --restart=always -v /var/run/docker.sock:/var/run/docker.sock -v portainer_data:/data portainer/portainer-ce:2.21.5
Verify that Portainer is running
docker ps
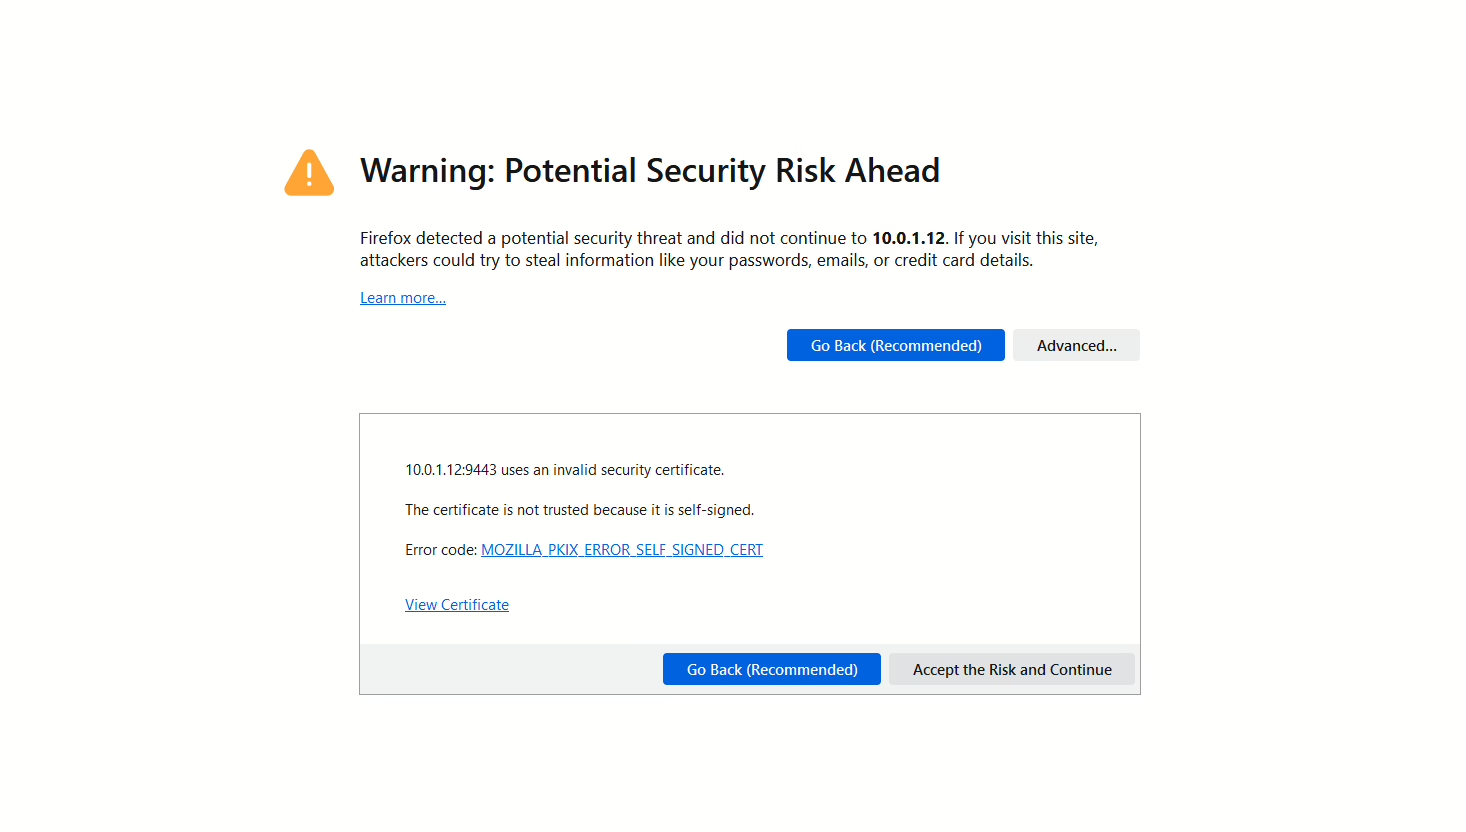
Now you should be able to visit https://yourserverip:9443 in a web browser. You’ll get a security warning because it’s running with a self-signed SSL certificate, so you’ll need to reassure your browser that you accept the self-signed cert and want to continue:

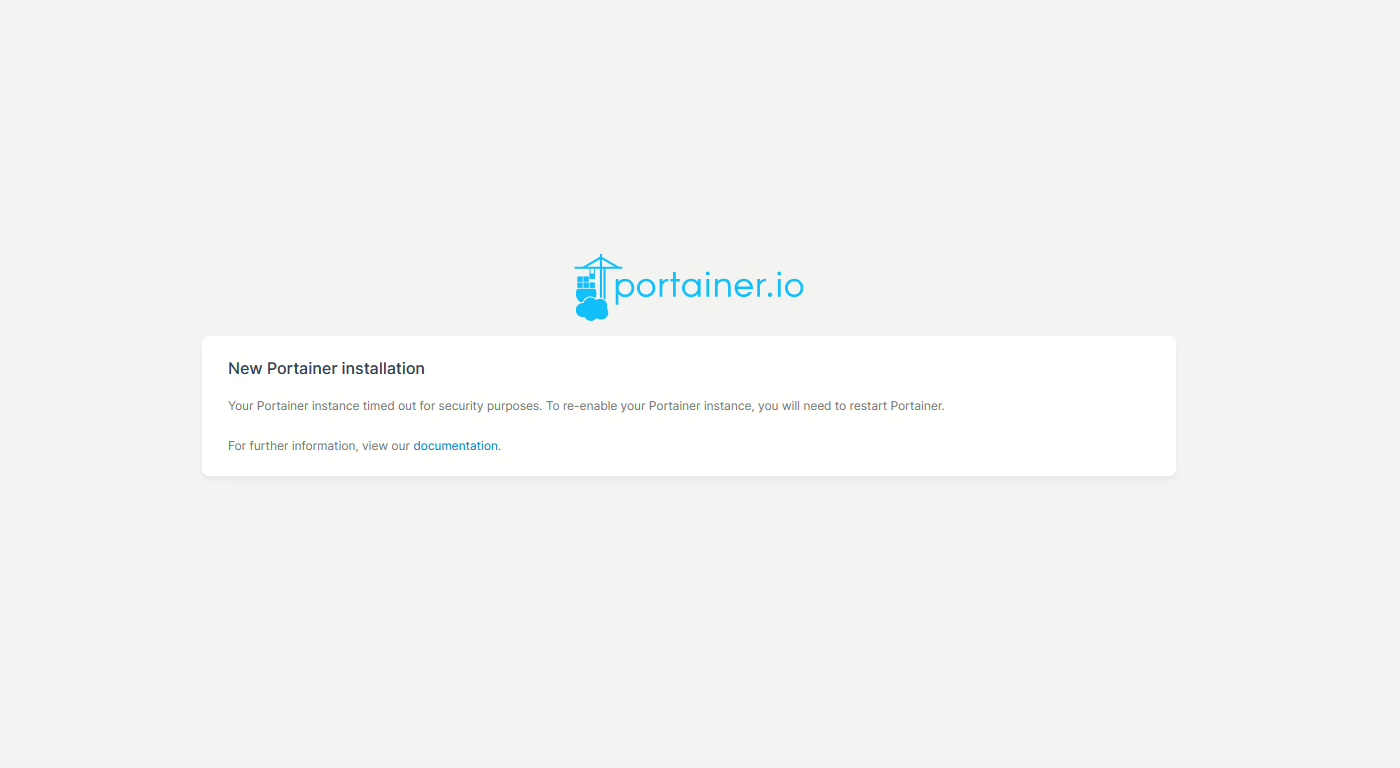
If you take too long to load Portainer in a browser (like I did because I was stopping to write everything up) the Portainer instance will terminate itself for security and you’ll see a screen like this:

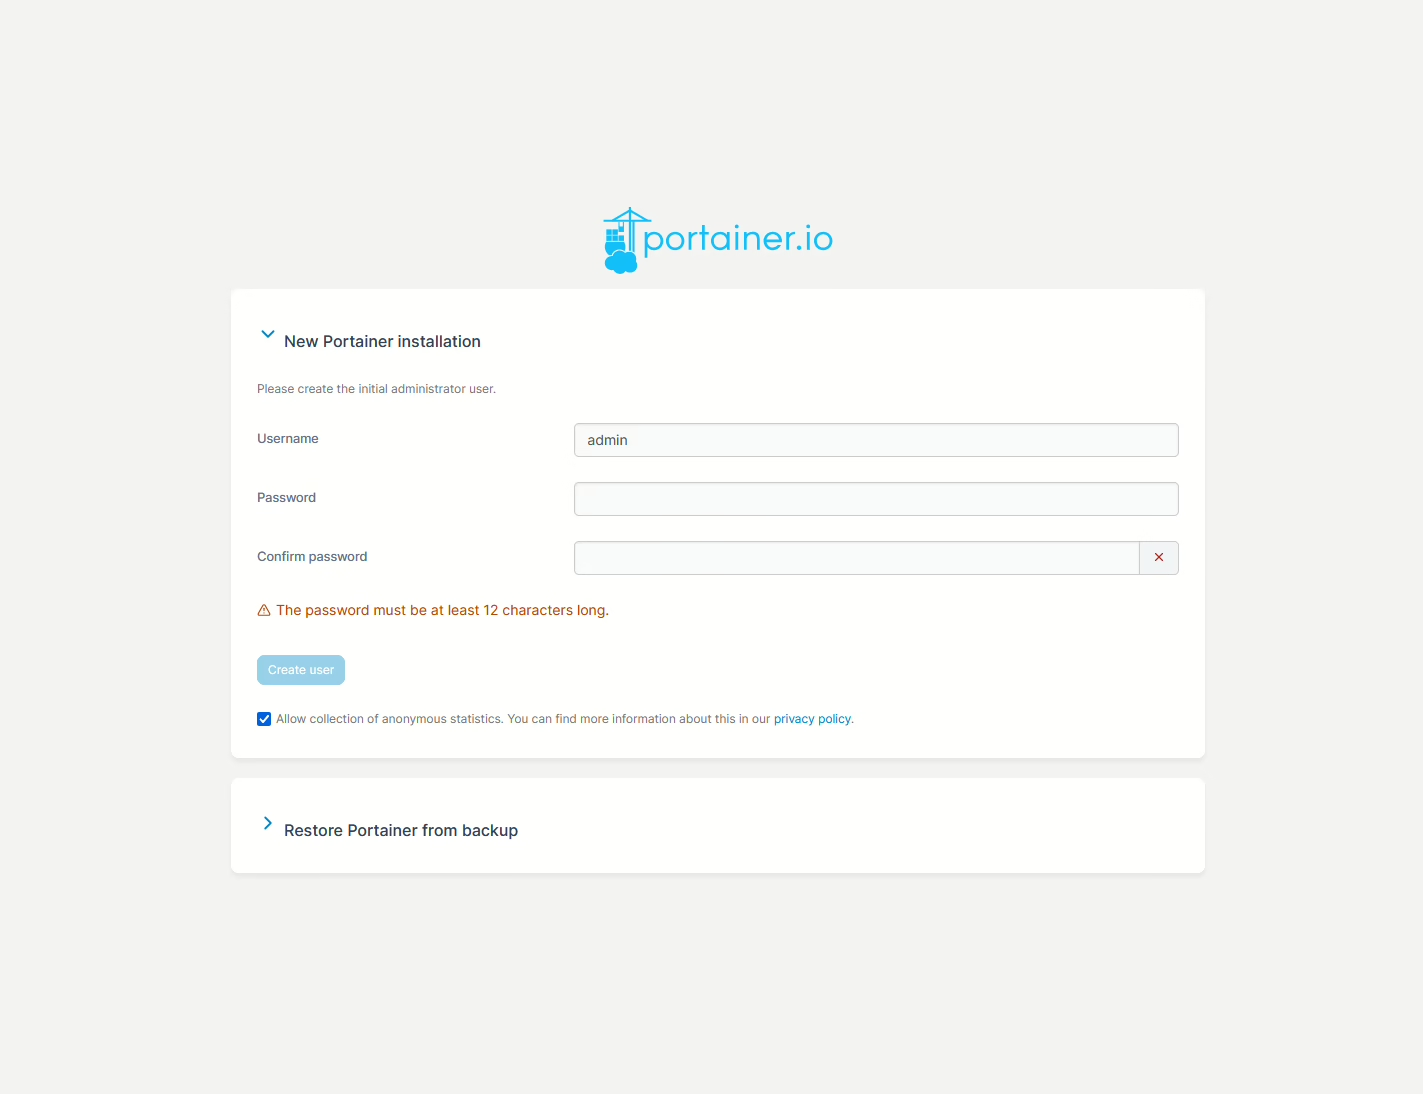
If that happens, all you need to do is alt-tab back to your SSH session and tell Docker to restart Portainer. When you tab back to your web browser and hit refresh you should see Portainer’s initial setup screen where you can create a username and password to log in:

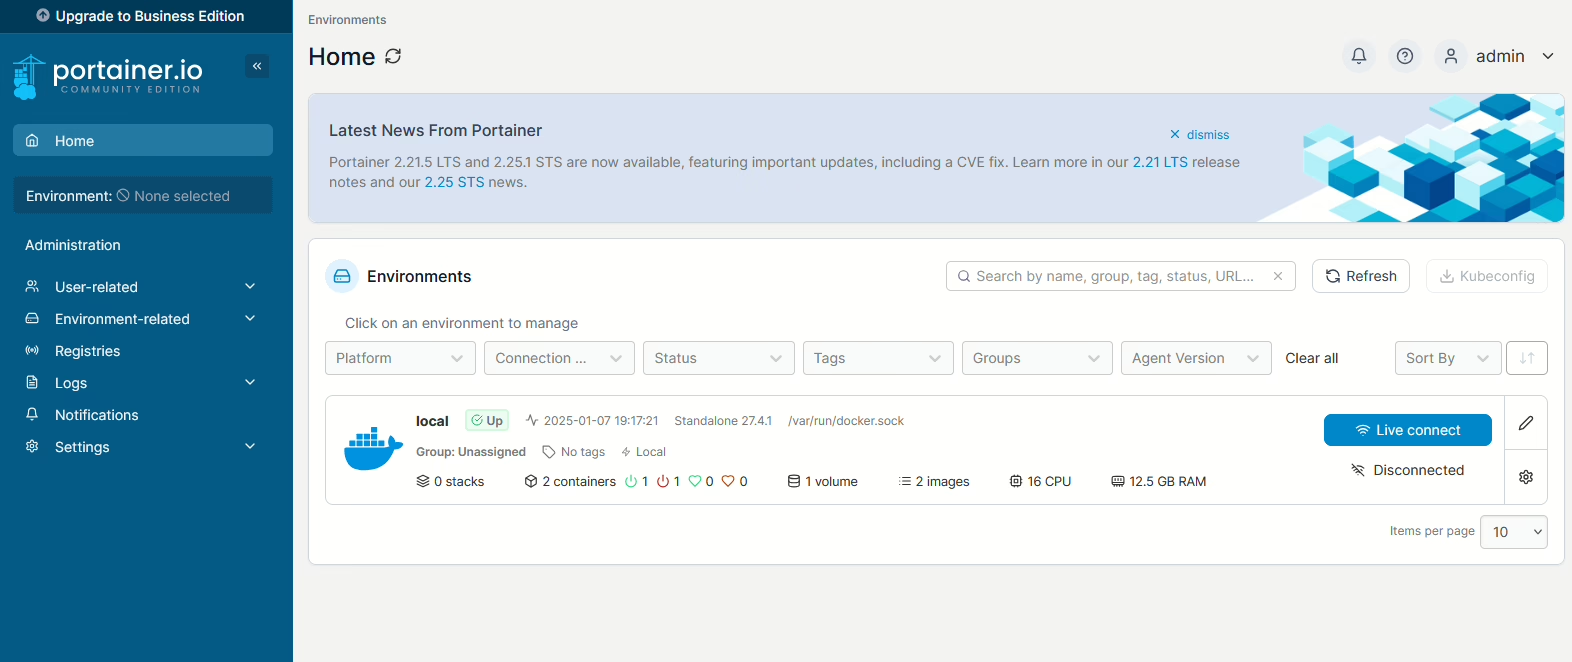
Click on Home in the left sidebar and you’ll see the Portainer dashboard.

Jellyfin media server
Portainer lets you create Stacks, which are groups of related containers. Click on the “local” environment to see information about stacks and containers running on your server, then click on the Stacks section then the blue Add stack button in the top right to create our first Stack. Give it a name (I’m calling this one “media”). Below the name field is a large textarea where we can write or paste a Docker Compose file, which is a recipe in YAML format to create and run a Docker container. YAML can be a bit finicky, indentation is important and using tabs is unsupported. Make sure you’re doing all your indentation with spaces. We’re going to take the Compose file from the Jellyfin installation instructions and simplify it slightly to suit our server:
services: jellyfin: image: jellyfin/jellyfin:latest container_name: jellyfin environment: - PUID=1000 - PGID=1000 network_mode: 'host' ports: - 8096:8096 volumes: - /etc/media/configs/jellyfin:/config - /home/chris/media/video/tv:/tv - /home/chris/media/video/films:/films - /home/chris/media/music:/music restart: unless-stopped |
We’re running Jellyfin as our user, on port 8096. Media is separated into three libraries under the /media directory in your home directory (don’t forget to replace “chris” with your username), and Jellyfin’s config directory is mapped to /etc/media/configs/jellyfin on the host machine for ease of access.
It may seem a little redundant to have a whole Stack with just Jellyfin in it, but if you wanted to add more apps in future to manage or otherwise interact with your media collection, this is where it would go. Scroll down and hit the “Deploy the stack” button, and after a short wait while it pulls down the Jellyfin image and sets everything up the container should show up in the stack details as healthy:

Your Jellyfin server should be accessible on http://yourserverip:8096/web/index.html, and you can log in and configure it as normal.
A quick way to initially populate the media library would be to connect to your server using an FTP client such as Filezilla, create the necessary directories and drag your media across. A slightly more user friendly approach would be to configure it as a Samba share.
Immich photo library
Let’s create another Stack for Immich. This one’s a bit more complex, because it will create containers for Immich itself, its machine learning agent, a Postgres database and Redis for caching. We’re again going to be taking the official Docker Compose file for Immich and pasting it in the editor.
name: immich services: immich-server: container_name: immich_server image: ghcr.io/immich-app/immich-server:${IMMICH_VERSION:-release} # extends: # file: hwaccel.transcoding.yml # service: cpu # set to one of [nvenc, quicksync, rkmpp, vaapi, vaapi-wsl] for accelerated transcoding volumes: # Do not edit the next line. If you want to change the media storage location on your system, edit the value of UPLOAD_LOCATION in the .env file - ${UPLOAD_LOCATION}:/usr/src/app/upload - /etc/localtime:/etc/localtime:ro env_file: - stack.env ports: - '2283:2283' depends_on: - redis - database restart: always healthcheck: disable: false immich-machine-learning: container_name: immich_machine_learning # For hardware acceleration, add one of -[armnn, cuda, openvino] to the image tag. # Example tag: ${IMMICH_VERSION:-release}-cuda image: ghcr.io/immich-app/immich-machine-learning:${IMMICH_VERSION:-release} # extends: # uncomment this section for hardware acceleration - see https://immich.app/docs/features/ml-hardware-acceleration # file: hwaccel.ml.yml # service: cpu # set to one of [armnn, cuda, openvino, openvino-wsl] for accelerated inference - use the `-wsl` version for WSL2 where applicable volumes: - model-cache:/cache env_file: - stack.env restart: always healthcheck: disable: false redis: container_name: immich_redis image: docker.io/redis:6.2-alpine@sha256:eaba718fecd1196d88533de7ba49bf903ad33664a92debb24660a922ecd9cac8 healthcheck: test: redis-cli ping || exit 1 restart: always database: container_name: immich_postgres image: docker.io/tensorchord/pgvecto-rs:pg14-v0.2.0@sha256:90724186f0a3517cf6914295b5ab410db9ce23190a2d9d0b9dd6463e3fa298f0 environment: POSTGRES_PASSWORD: ${DB_PASSWORD} POSTGRES_USER: ${DB_USERNAME} POSTGRES_DB: ${DB_DATABASE_NAME} POSTGRES_INITDB_ARGS: '--data-checksums' volumes: # Do not edit the next line. If you want to change the database storage location on your system, edit the value of DB_DATA_LOCATION in the .env file - ${DB_DATA_LOCATION}:/var/lib/postgresql/data healthcheck: test: >- pg_isready --dbname="$${POSTGRES_DB}" --username="$${POSTGRES_USER}" || exit 1; Chksum="$$(psql --dbname="$${POSTGRES_DB}" --username="$${POSTGRES_USER}" --tuples-only --no-align --command='SELECT COALESCE(SUM(checksum_failures), 0) FROM pg_stat_database')"; echo "checksum failure count is $$Chksum"; [ "$$Chksum" = '0' ] || exit 1 interval: 5m start_interval: 30s start_period: 5m command: >- postgres -c shared_preload_libraries=vectors.so -c 'search_path="$$user", public, vectors' -c logging_collector=on -c max_wal_size=2GB -c shared_buffers=512MB -c wal_compression=on restart: always volumes: model-cache: |
This Compose file uses environment variables, which we can either create one by one using the buttons below the editor or in bulk by uploading the example env file. Edit the DB_PASSWORD field to something a little more secure. Heading back up to the Compose file, we need to specify the name of the env file in the immich-server and immich-machine-learning sections of the file to read as follows:
env_file: - stack.env |
Then hit the “Deploy the stack” button. This one will take a little longer than Jellyfin to deploy as it’s a more complex Stack, but after it’s finished pulling the images and starting the containers you’ll once again be able to see a successfully deployed Stack:

Your Immich server should now be accessible at http://yourserverip:2283/


Leave a Reply