How to replace Netflix and Google Photos with your own home server, part 2
In Part 1 of this guide we went over the basic installation process for your first Linux home server. Welcome to Part 2, where we’ll be covering how to connect to your new server, some filesystem basics and how to navigate around the terminal.
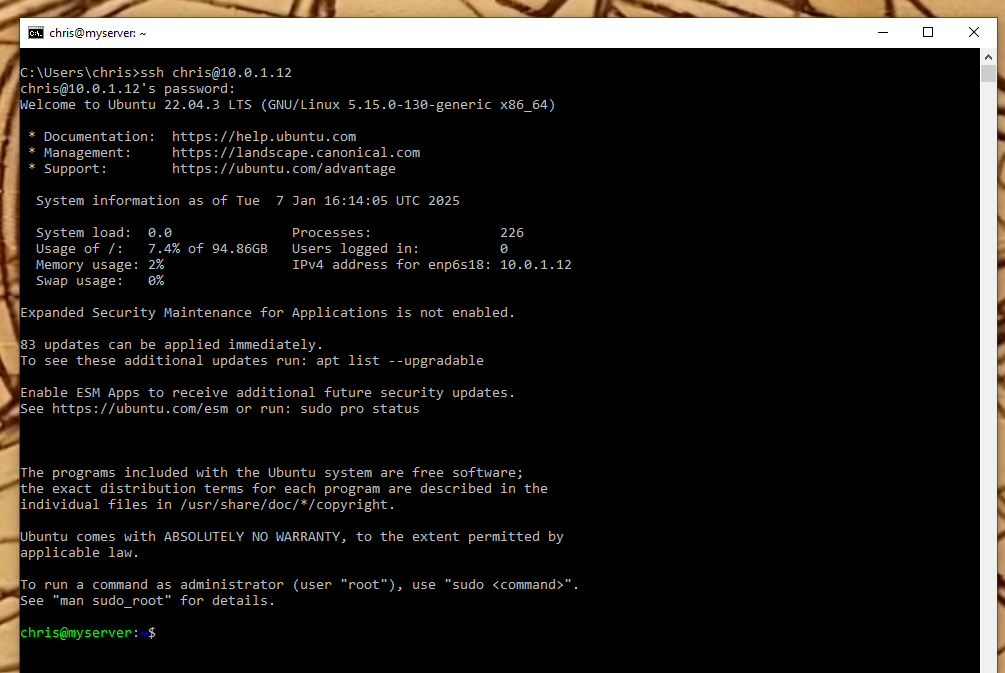
Picking up where we left off, you should now be able to connect to your new server from your usual PC over SSH. Open up a command prompt and type ssh yourusername@yourserverIP. The first time you connect you’ll be asked if you want to continue connecting, so type yes and hit enter. You’ll be prompted for your Linux user’s password:

SSH doesn’t show asterisks for passwords, so it will look like your password isn’t typing. This is normal, and if you type it wrong you’ll get another chance. Once you’ve logged in you should see the welcome screen:

Some basic concepts before we start. If you use Windows you’ll be used to your regular user account having Administrator privileges. Linux works on the principle of least privilege: by default your user account has limited privileges, and in order to perform any action that requires administrator privileges you have to preface the command with sudo, which is short for “Super User do”, and will prompt you for your password to confirm. We’ll see that in action in a moment, but don’t worry – any time you try to run a command without sudo it will remind you.
Linux uses a package manager to install software. In the case of Ubuntu and all Debian-derived distributions that package manger is apt. The first thing we need to do with a new Linux install is check if it’s fully up to date by comparing the version of all installed packages with the package manager’s repositories using sudo apt update.

Once we have the list of packages with newer versions available, we then need to install them using sudo apt upgrade -y. Normally when installing or updating a package we’ll be prompted to press Y to confirm, but we can apply that to all packages we’re updating automatically by passing the -y flag in the command.
You may see a screen offering to restart services, just hit OK to accept the defaults and it’ll drop you back to your SSH session.

With the housekeeping out of the way, it’s time to familiarise ourselves with the terminal. When you log into the server you’ll be dropped into your home directory, located at /home/yourusername. A couple of ways the Linux command line differs from Windows: Linux uses forward slashes to separate directories, and everything from commands to directories is case sensitive – it’s possible to have /home/chris, /home/Chris and /home/CHRIS in the same filesystem and they’ll refer to three different directories. Moving around the filesystem is done with the change directory command, cd. You can go to the root of the filesystem with cd /, you can go up one level from your current location with cd .. and you can always return to your home directory with the shortcut cd ~/ or show the path of the current directory with pwd.
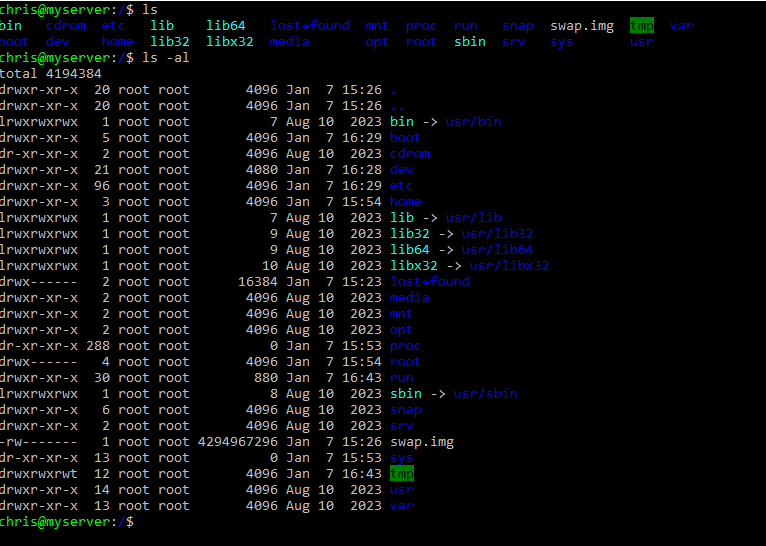
You can list the contents of any directory with the ls command. Here’s what it looks like in the root of the filesystem:

In the image above dark blue entries are directories, light blue are symlinks (similar to shortcuts on Windows) and grey entries are files.
That’s not particularly human readable though, so it’s helpful to add -al any time you use ls, which will format everything in a nice list and show things like permissions, user and group ownership, filesize and creation/modification dates. It will also show where a symlink links to.

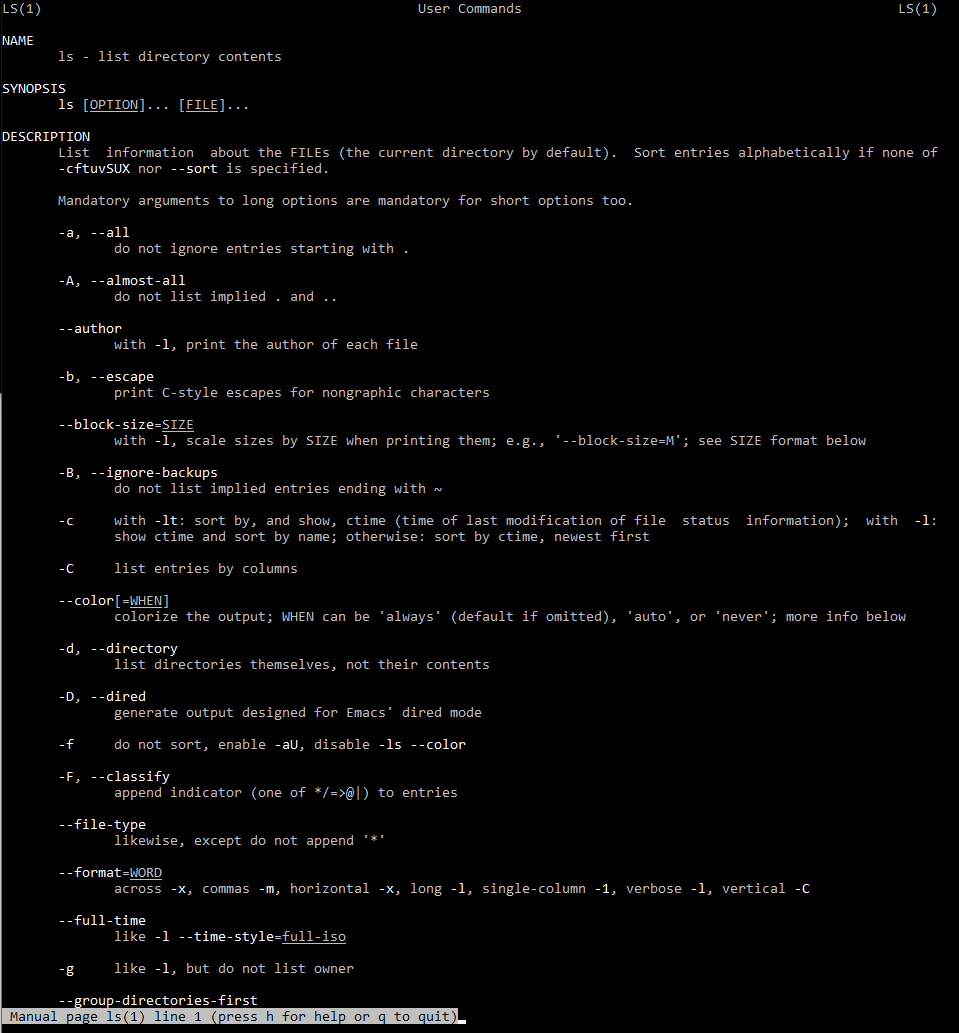
You don’t need to commit these flags to memory though, you can check the manual page for any command using man followed by the name of the command:

Some more useful commands, in no particular order:
- mkdir Makes a new directory. For example, mkdir my_new_directory.
- rm or rmdir Removes a file or a directory. Use with caution! For example, rm my_file removes the file ‘my_file’, and rmdir my_directory removes an empty directory.
- cp Copies files and directories. For example, cp source_file target_directory/target_file.
- mv Moves or renames files and directories. For example, mv old_file new_name, moves the file ‘old_file’ to ‘new_name’.
- touch Creates an empty file. For example, touch new_file.
- cat Displays the contents of a file. For example, cat my_file.
- less or more Allows you to scroll through large files, one screen at a time. For example, less my_big_file.
- grep Searches for a specific pattern in files. For example, grep 'pattern' my_file.
- top or htop Displays the system’s current running processes. This can be useful for troubleshooting performance issues.
- uptime Shows how long the system has been running, as well as the load averages for the past 1, 5, and 15 minutes.
- df Reports amount of disk space usage in 5 levels of detail. This can help you monitor your server’s disk usage.
- du Shows file sizes for the files and directories in the current directory
- ip or ifconfig Displays network interface information. This can be useful for checking IP addresses, subnet masks, and other networking-related details.
- systemctl Systemd command used for managing the system’s services, units, and targets. You can start, stop, reload, or check the status of a service using this command. For example, systemctl start apache2.
Finally, nano is a lightweight text editor that runs in a terminal. This is incredibly useful because everything in Linux is configured through regular text files – there are no specialised binaries like the Windows Registry.
Now we’ve covered the basics of using the terminal, Part 3 will focus on how to set up containerised applications on your new server.


Leave a Reply