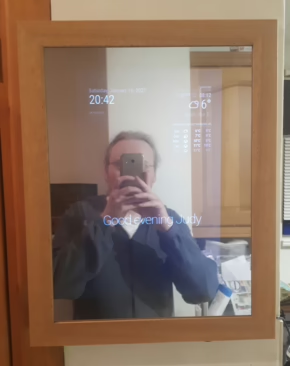
Building a combination smart mirror and smart speaker
It all started a couple of years ago. I was recycling an old laptop – and I mean recycling, it was too old to be remotely useful even with a lightweight Linux distro. I always hate the process of generating e-waste, so I pondered what I could possibly do with it. Then I thought about my mum. She’s never really taken to smartphones, and I’d seen her sit down and boot up her desktop PC just to check the weather forecast.

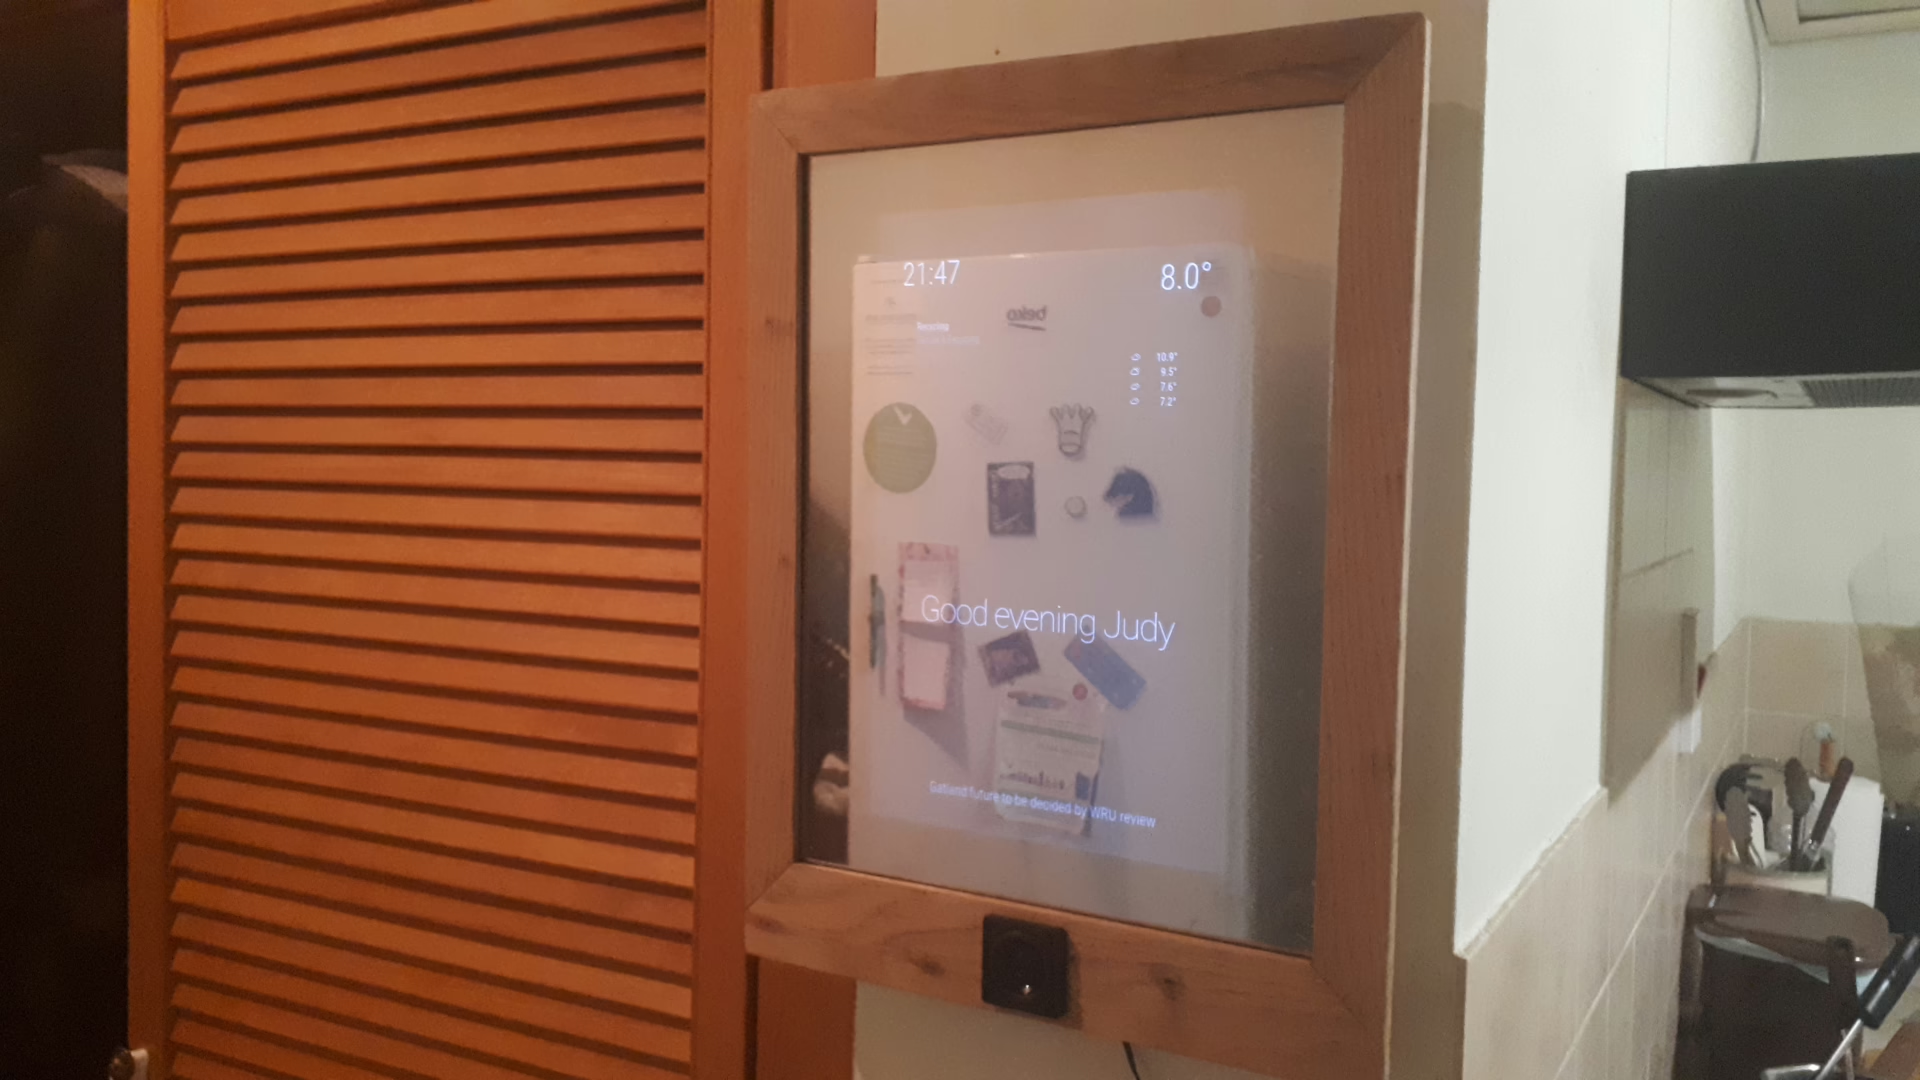
If I harvested the panel from the laptop’s display, I could put together a relatively efficient smart mirror, controlled by a Raspberry Pi Zero and powered by a single small DC adapter. I tracked down an HDMI driver board compatible with the panel and soldered a 12v to 5v buck converter from the driver board’s barrel jack so I could power the Pi via its USB port. All I had to do then was find an appropriately sized picture frame and apply one way mirror film to the glass.
And it worked, after a fashion. The messy innards were visible from the side along with a lot of light bleeding from the back of the panel. It was dog-slow thanks to MagicMirror² being a Node app, and it took a lot of hacking to get it to run at all on the Pi Zero W, an unsupported and underpowered single-core board. I also never liked the fact that the frame was off the shelf, it lacked that personal feel.
The 2024 update: Pi Zero 2 W, smart speaker hardware and bespoke frame
Fast forward to 2024. The silicon shortage is over and the Raspberry Pi Zero 2 W is no longer unobtainium, so I’ve grabbed one to upgrade the mirror. Quad core vs the single core on the original Pi Zero makes a big difference to the performance; and it’s also ARMv7 rather than ARMv6 which means it’ll finally be a supported platform for MagicMirror², as Electron doesn’t support ARMv6. I’ve also taken up woodworking in the meantime and have some spare red oak offcuts lying around, which are the perfect size for making a deeper frame with a rear box to contain the hardware.

For audio input/output I’m using a Seeed Studio Respeaker hat, which has two onboard mics and a speaker header that I can use to drive a Dayton Audio DMA45-4 1.5″ full range speaker.
Preparing the Pi
I started by using the Raspberry Pi Imager to prepare the SD card. I used Raspberry Pi OS “Bookworm” with a desktop environment, which is necessary for Electron to display the frontend of the app. I also customised the image at this stage to pre-populate the network settings and enable SSH so I can configure the Pi from another machine. This is where I ran into the first snag: the only SD card reader I had handy was built into my Dell XPS 13, and the imager likes to bluescreen it. Fortunately this happens at the end of the verification phase after it’s finished writing the image to the SD card, so when I tried plugging the card into the Pi it booted into the OS fine.
Rotating the screen
The next step in the process is to rotate the screen, as the mirror is hung in a portrait orientation. This is a two part process: first the orientation of the text mode display prior to the desktop can be changed by adding the following to the end of /boot/firmware/cmdline.txt
video=HDMI-A-1:1280x800M@60,rotate=270 |
Then we have to rotate the desktop once the GUI loads. This used to be a fairly simple matter involving inserting one line in /boot/cmdline.txt, but that method is out of fashion this week. I first tried to figure out how to do it in the new Wayland + Wayfire desktop, but a lot of googling and an encounter with an unpleasant furry-tooth put me off to the point where I just gave up and used raspi-config to revert back to X11 (under Advanced Settings). To rotate the desktop under this environment all we have to do is add the following to /usr/share/dispsetup.sh:
xrandr --output HDMI-1 --rotate right |
Yes, that means the command line is rotating anticlockwise whereas the desktop is rotating clockwise. This whole experience is why it’s not the year of the Linux desktop yet and never will be.
Installing MagicMirror² itself is a breeze by comparison, using Sam Detweiler’s install script:
bash -c "$(curl -sL https://raw.githubusercontent.com/sdetweil/MagicMirror_scripts/master/raspberry.sh)"
It’ll take a good long while to run, but by the time it finishes we have a fully working install of MagicMirror² and all its dependencies ready to go. We’ll also make use of his script to disable the screensaver:
bash -c "$(curl -sL https://raw.githubusercontent.com/sdetweil/MagicMirror_scripts/master/screensaveroff.sh)"
Configuring and customising the mirror is done in ~/MagicMirror/config/config.js
The smart speaker
For the smart speaker functionality I set the Pi up as a Wyoming satellite. First I made sure I had the dependencies I needed:
sudo apt-get install --no-install-recommends git python3-venv
Then I cloned the wyoming-satellite repo into my home directory
cd ~ && git clone https://github.com/rhasspy/wyoming-satellite.git
Since I’m using the Seeed Respeaker hat, I needed to install the drivers, which takes approximately an ice age.
cd ~/wyoming-satellite && sudo bash etc/install-respeaker-drivers.sh
After installing the drivers and rebooting, it’s time to install some more bits and bobs in a Python venv.
cd ~/wyoming-satellite/ && python3 -m venv .venv
.venv/bin/pip3 install --upgrade pip
.venv/bin/pip3 install --upgrade wheel setuptools
.venv/bin/pip3 install \
-f 'https://synesthesiam.github.io/prebuilt-apps/' \
-r requirements.txt \
-r requirements_audio_enhancement.txt \
-r requirements_vad.txt
The Pi hat has LEDs onboard which are useful for signalling voice assist activity.
cd ~/wyoming-satellite/examples && python3 -m venv --system-site-packages .venv
.venv/bin/pip3 install --upgrade pip
.venv/bin/pip3 install --upgrade wheel setuptools
.venv/bin/pip3 install 'wyoming==1.5.2'
First we need to create a service:
sudo systemctl edit --force --full 2mic_leds.service
Then populate the details
[Unit] Description=2Mic LEDs [Service] Type=simple ExecStart=/home/chris/wyoming-satellite/examples/.venv/bin/python3 2mic_service.py --uri 'tcp://127.0.0.1:10500' WorkingDirectory=/home/chris/wyoming-satellite/examples Restart=always RestartSec=1 [Install] WantedBy=default.target |
Next, the main Wyoming service
sudo systemctl edit --force --full wyoming-satellite.service
And contents:
[Unit] Description=Wyoming Satellite Wants=network-online.target After=network-online.target Requires=2mic_leds.service [Service] Type=simple ExecStart=/home/chris/wyoming-satellite/script/run --name 'Kitchen Mirror' --uri 'tcp://0.0.0.0:10700' --mic-command 'arecord -D plughw:CARD=seeed2micvoicec,DEV=0 -r 16000 -c 1 -f S16_LE -t raw' --snd-command 'aplay -D plughw:CARD=seeed2micvoicec,DEV=0 -r 22050 -c 1 -f S16_LE -t raw' --event-uri 'tcp://127.0.0.1:10500' WorkingDirectory=/home/chris/wyoming-satellite Restart=always RestartSec=1 [Install] WantedBy=default.target |
Firing it all up:
sudo systemctl enable --now wyoming-satellite.service
sudo systemctl status wyoming-satellite.service 2mic_leds.service
At this point we have a fully functional Wyoming satellite that should be detected in the Settings > Devices tab of Home Assistant. I’ve done a little more tinkering since then, but that’s a story for another day.


Leave a Reply